Search This Blog

Saturday 28 December 2013

Matcha Pecan Shortbread Cookies


Similar to dried green tea leaves, matcha green tea powders comes in various of grades.  Commercial grade; mostly used in bulk for baked goods to superior high quality, only brought in small quantities, meant to enjoy the true essence of the matcha powder.  
Whole green tea leaves are harvested, steamed, de-vined, dried and grind to a fine powder = matcha powder. Superior grade green tea leaves meant to injest naturally as a green tea drink, are grind using a stone mill, which will aid in maintaining its natural, robust earthy flavour while commercial grade are grind using industrial machinery.  


The difference in flavour and scent is vast from commercial grade to superior grade.  So the 
snobbish foodie in me would totally recommend you to purchase, yup, you guessed it, the fancy looking packaging, ensuring it is Product of Japan. :) Good thing a little goes a long way! 

Tip: Keep unused matcha powder in the refrigerator.  This prevents the flavour from going stale and extends shelf life. 

I should mention, not everyone likes the taste of matcha.  On its own, it has quite an earthy tone.   Some years ago, I had made a Matcha Swiss Roll and shared with my colleagues.  The non-asians, thought it tasted like mud!  Mud? really?! Since I am 100% asian (until proven otherwise) bred to love all things asian, especially all things Japanese, matcha green tea powder does not have a muddy tone to me. :)  So every chance I get to use my matcha power, I envision myself....transported to Japan..... :) 

Ingredients:
1 cup of room temp soften unsalted butter
2 1/2 cup of all purpose flour - sifted (AP)
1/2 cup + 1/4 cup icing sugar - sifted 
1 1/2 tsp of matcha powder
1 tsp pure vanilla extract
2 tbsp milk
1/2 tsp salt
1/2 cup diced pecans

Directions:
1.  In a bowl, sift AP flour, matcha powder and 1/4 cup icing sugar & salt.  Set aside. 
2.  In a separate bowl, using an hand-held electic mixer (if not using a stand mixer) mix butter until light and fluffy.  2 - 3 mins.  Add in vanilla extract and milk.  Continue to mix.  Add in icing sugar. Mix to light and fluffy. 3- 4 mins more.  
3.  Replace the beater with a spatula.  Slowly mix in the flour blend in 3 parts;  Add 1/3 of the flour blend, fold until blend with butter mixture, Add in another 1/3, repeat until all flour is absorbed into the dough.


4.  Mix in most of 1/2 diced pecans.  Leave some to top of shortbread. 


5.  Preheat oven to 375 F.   Line parchment paper or silicon mat on baking pan.  Roll each cookie into form. Press down and sprinkle diced pecans on top of each dough ball.   
6.  Bake for 12 - 13 mins until bottom is lightly golden brown.  Note, each oven operates differently so adjust accordingly. 
7.  Allow to cool on wire rack.  Enjoy!


Tip:  the longer you beat the butter for, the lighter the shortbread will be.


Tuesday 24 December 2013

Sticky Rice & Pork wrapped in Lotus Leaf

cling clang cling clang
push, shove
point, shout
bite and sigh
that morsel of yummy dish you had to over step other patrons to get to, is alllll worth it.  


Dim Sum is the one place where manners are thrown out the window.  The snobbish attitude we foodies tend to have would truly offend others,  so let's leave the attitude at home :D  With many array of mini bite size dishes, deliciously stacked in wooden containers, piled high, its nearly impossible to pick one single favorite dish.  Chopsticks fly across the table just to grab a piece from every dish.  Remember, mannerism is non-existent when dim summing, so go ahead! Grab that last piece or someone else will. :)

Unlike many of my Cantonese friends who get to dim sum almost once every week with their family and relatives, I only usually get to go once every 3-4 months.  So wide-eyed, oozing with mad excitement, drooling over dishes with every cart that rolls by, I sometimes wish I was a chef who specialized in dim sum dishes.  Oh to be able to make any of the many yummy dishes at any moments time......... would make me a happy happy camper :D  So to start this off, I decided to conquer one of my favorite dish; Sticky Rice & Pork wrapped in Lotus Leaf.   The scent and flavour of the lotus leaf is infused into the sticky rice and meat when steamed, which makes the dish sooooo darn damn delicious.  If I wasn't so health conscious, I would eat 10 of these :D (in one sitting:DD)


This is my first time making this so its not perfect and definitely has room for improvement. :)  but as a first attempt, not too shabby! )  I would recommend using the dried shitake mushroom verses fresh ones, which I used since I already had some on the ready.

So let's get sticky!  Warning:  You'll need at least 2hrs to prepare this:)  This makes approx. 7 rolls.

Ingredients:
1.  4-5 sheets of dried lotus leaves - your local China Town grocery store will carry this.  Tip, instead of walking around the grocery to look for this, ask someone, it's usually hidden away.
2.  4 cups of glutinous rice - you can purchase this at any asian grocer
3.  5-7 dried shitake mushrooms, diced - reconstituted, reserve the now flavoured water
4.  2 tbsp of dried shrimp - reconstituted, reserve the now flavoured water
5.  garlic beans cut into 1/2 inch in length, 1/4 carrot, grated
6.  1tsp each grated garlic &  ginger
7.  1tsp each chili beancurd paste (I used the korean brand)
8.  1 tsp each dark soy sauce, oyster sauce, chicken stock paste
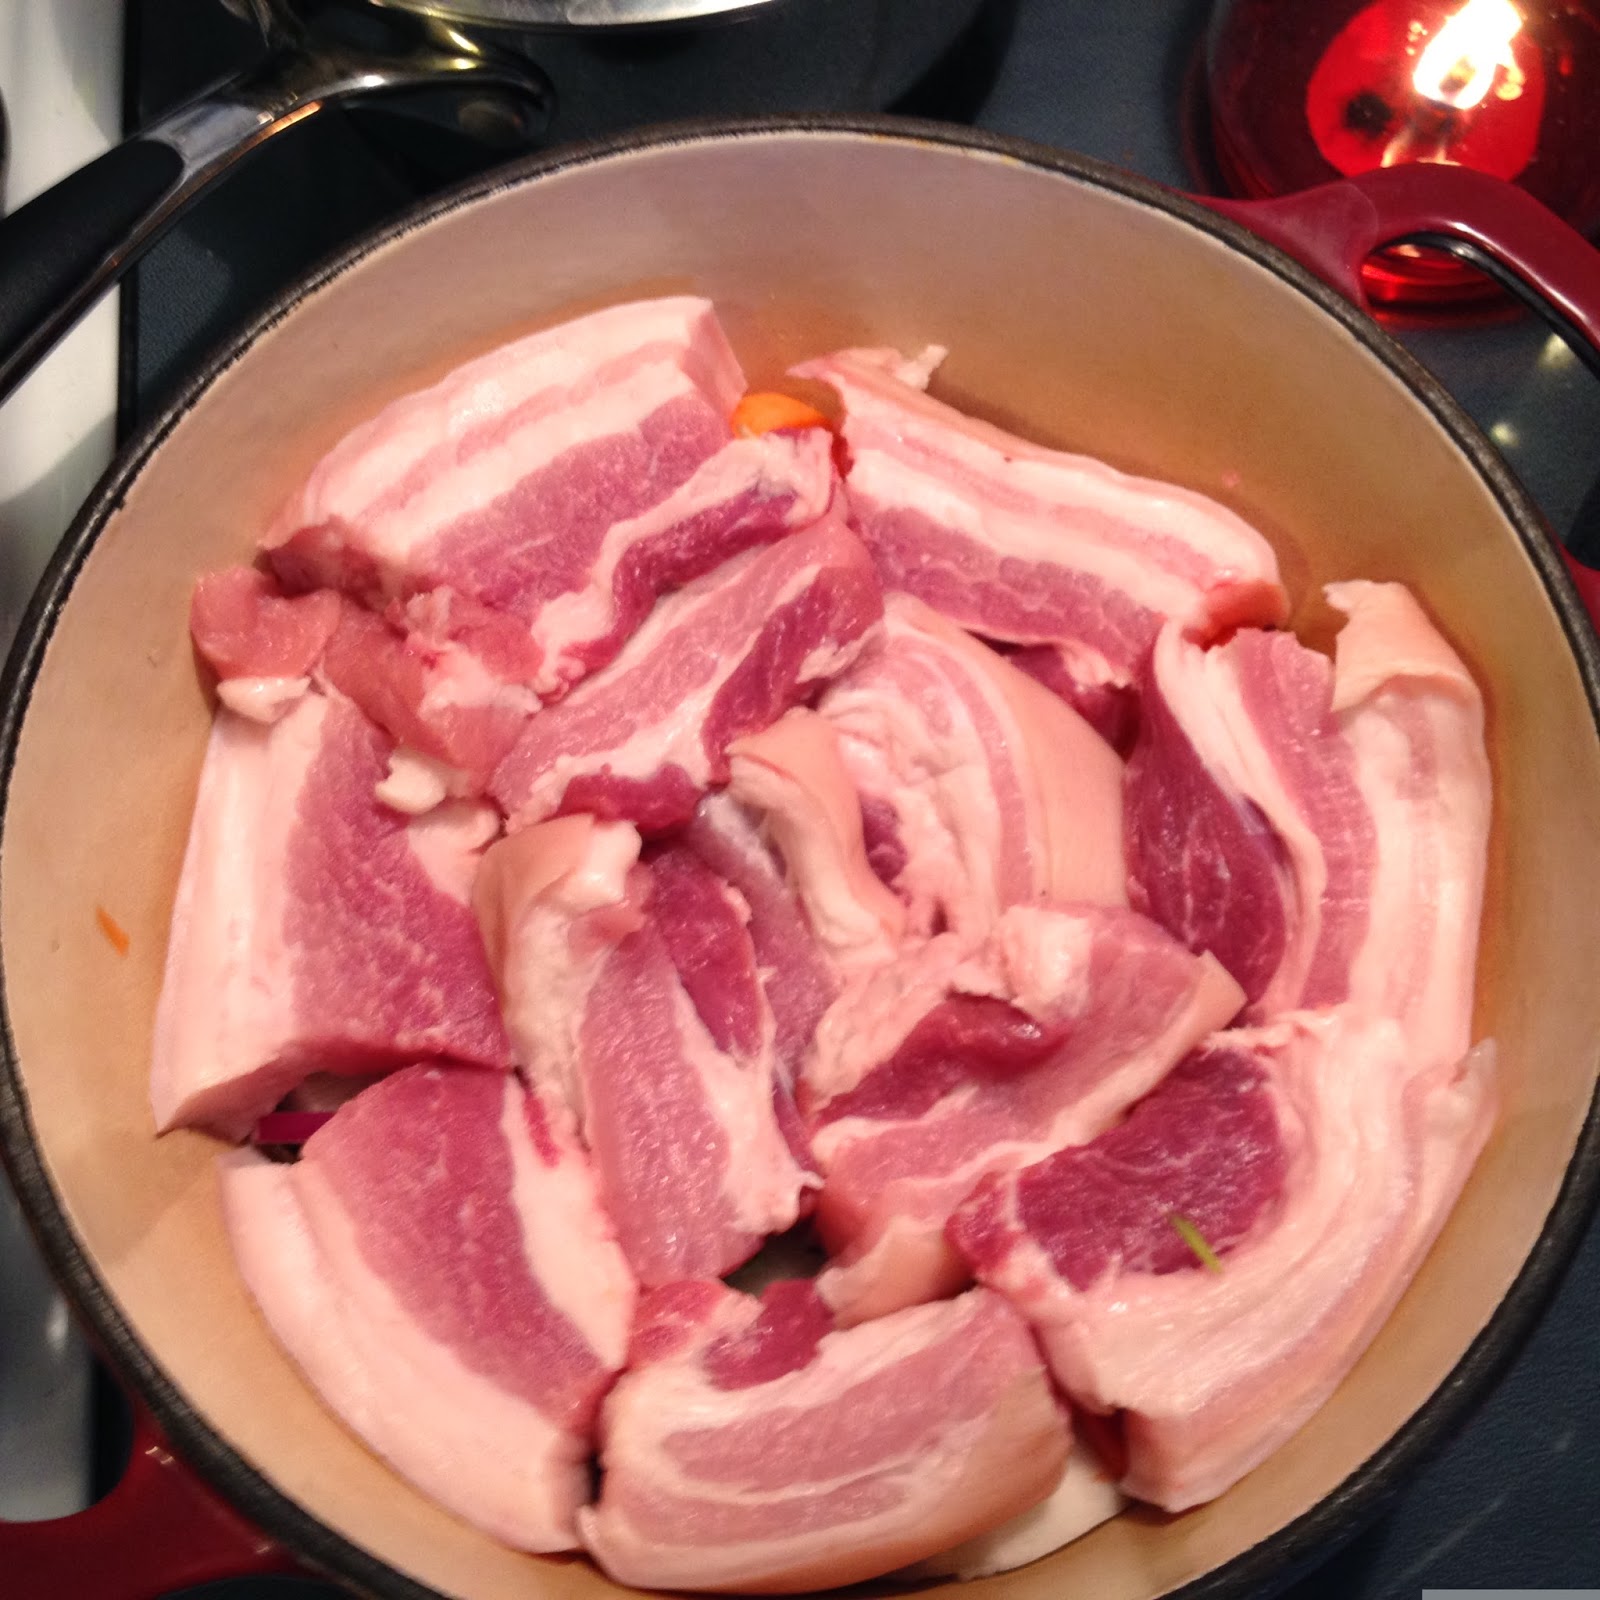
9.  3/4 pound of ground pork,
10.  1 stick of chinese sausage, lap cheong - diced into small pieces
11.  chinese cooking wine

Soak the glutinous rice for at least 2hrs.


Soak the dried shrimp, reserve the water.

Let's make the stock water for the rice.  In a pot, add the reserved water from the shitake mushrooms and dried shrimp, add more water to make at least 1L of stock.


Add 1tbsp of the chicken stock paste.  2tsp of dark soy sauce.  1tbsp of chinese cooking wine.


Simmer for 10 - 15 mins, allow the flavour to combine and be merry.  Once done, strain the broth. Throw away the shitake mushroom stems.  Set aside.

Once rice is soaked, rinse out the starchy water multiple of times until the water is almost clear.  Drain all water.  Add rice to your rice cooker. Throw in dried shrimp.  Add in the broth to meet the line shown on the rice pot.    You will need to reserve some broth to cook later so be sure there's leftover.


Luckily, my rice cooker has a setting to cook sweet rice, so all I had to do was press start.  :)


While the rice cooks, let's prepare the filling!

Marinade the ground pork with oyster sauce, dark soy and chicken stock paste.


Heat up a pan to medium high, add pork and de-cluster the pork into smaller bits.  Add 1/2 the portion of the grated ginger and garlic.  Stir.  Cook for a couple of minutes.  Add a splash of cooking wine and chili beancurd paste.


Stir and continue to cook for another 1-2mins.  Add in the diced lap cheong.  Stir and cook until brown.  Once done, put into a clean bowl.  Wipe side of pan to avoid oil dripping onto stove.

Next, let's cook the shitake mushroom, diced.  Lower the heat to medium, throw in shitake mushroom and some of the broth you prepared earlier. Add 1/2 of what's left of the grated ginger and garlic.


Stir and cook thoroughly, about 6-8 mins.  Pour into another clean bowl.


Let's cook the vegetables!  Maintain the heat on medium, throw in the garlic green bean, grated carrot, the rest of the grated ginger and garlic and a bit of the broth.


Cook for 3-4 mins.  Turn off heat and pour veggies into another clean bowl.

By this time, your rice will be cooked. :)


Add 3/4 portion of the diced, cooked shitake mushrooms to the rice and mix.


Set aside to cool.

Let's prepare the lotus leaves. :)  This is how it looks when you purchase the leaves, dried flat, folded in half.  You'll need to allow the leaves to simmer in a pan of hot water to soften in order for it to be pliable.  Cut off the middle of the leaf, where the vines meet.  This part is tough therefore not pliable.


Once soften like below picture, rinse and cut in half.  lay flat on counter, just like below.


Gather together the cooked ingredients.


We are almost done!! Let's prepare to wrap these sticky rice!!


Place approximately 1/2 cup of the cooked rice like so.  Make a dip in the rice.


Add some cooked pork and veggies like so.


Add a bit more sticky rice on top, like so.  Begin to wrap one end to the other, like wrapping a burrito, like so.


Once wrapped, tie with a string to hold together.  Repeat process until all the rice is used up.


Taadaaa!!!!  Quite a process eh?  :D   If you wish to eat right away, bring a pot of water, filled 1/4 of the way to boil, place a wire rack in the pot, a plate on top of the wire rack and place the sticky rice on the plate, cover the pot and lower the heat to low, allow to simmer for 30mins.


Your kitchen will be filled with the wonderful scent from the lotus leaf.  Enjoy that scent!  Once steaming is completed, carefully take out each roll.  Snip off the string and slowly unwrap the lotus leaf, revealing the sticky rice. :DDD

For rolls not eaten right away, allow to cool and freeze right away.  Do not defrost prior to steaming.  By steaming the rolls straight from the freezer, you allow longer steaming time, allowing the flavour of the lotus leaf to slowly seep into the sticky rice. :)


Enjoy!


Thursday 28 November 2013

the troublesome Water Chestnut Chinese Soup

Water chestnuts are aquatic vegetables, grown underwater in muddy marshes.  It is by far my favorite veg to consume, crispy, clean, slightly sweet and refreshing, especially delicious when you are not the one preparing it!!

Every time I pass by the water chestnuts in the produce aisle of any Asian grocery, the image of a slow dying death comes to mind.  I'm not kidding.  I think, who the heck would torture themselves with the tedious task of washing, cleaning and peeling each and every water chestnut, tablespoon size?  You would have to peel a basket full of these for a single meal!

water chestnuts washed
Over the weekend, I just could not help myself.  These water chestnuts looked soooooo fresh and firm.  It's irresistibly caught my eye, latched on and I thought.... wouldn't it be nice to make a Water Chestnut soup?  I've never heard of it but, ok! before the image of the slow dying death resurfaced, I quickly dropped a good looking package of water chestnuts in the shopping basket without a second thought and continued my merry way.

Just so you have an idea of how this soup will turn out, check it out :)  It is as flavourful, refreshing as it looks:)

Ingredients needed
1 and a bit pound of pork bones
1 and a bit pound of water chestnuts
2 chayote squash
1 carrot
1 bunch of watercress leaves
3 dried longan
2 dried honey dates 
1 tbsp of dried almonds

Total cook time: just under 3hrs for soup, 1/2hr for pre-boiling pork.

As with my normal chinese soup underlining flavour, I used pork bone because when prepared properly, the stock from the pork bone provides a more robust, flavourful base that compliments well with all other ingredients.  When using pork bones to make soup, pre-boiling of the bones is a MUST!  This will remove any unwanted fat, dirt and blood.  This method also helps by removing the irony taste of blood as well as remove the stinky "pork" flavour.

In a soup pot, fill half-way with cold water and return to stove on medium heat.  Add your pork bones in the pot right away.  By soaking the pork bones in cold water, the irony blood and scums will slowly seep out.  Do not cover the pot.  Simply allow the water to heat up slowly, giving time for unwanted flavours to surface.  As the water slowly heats, it will colour like so. Gross right?


Continue to allow the water slowly heat up until boiling point.  This should take about 30 mins.  It will look like this afterwards.  Even more gross right? :D


Turn off heat and dump all contents in the sink.  Thoroughly clean the pot with soap, scrubbing away all scums.  Once cleaned, fill pot with clean, cold water, half way and return to stove.

Clean the bones thoroughly with cold running water, making sure to rinse away any loose grits.


Looks clean! The flavour coming out from this will be unreal. :) Set this aside.

Let's prepare the water chestnuts;)


In a big bowl, rinse water chestnuts until the water is clear.  This will take at least 10 rinses.
Tip:  Use a dash of salt to rinse, this will help draw out any dirt hiding in cervices.

Leave the water chestnuts covered in cold water.  Using a pairing knife, peel off skin and allow to soak in the water so they won't brown.  Be sure to pair away any brown, soft spots if any.


Allow to soak in water until it is ready for use.   Next, lets wash, peel, slice carrot. Cut chestnuts in half.  Set aside


Rinse the almonds, honey dates and logan.  Add this to the pot of water.  Add the pork bones, carrots and chestnuts.  Turn heat to medium heat.  Allow to heat until just below boiling, then immediately turn heat to low.  Cover pot and allow to simmer for 2 hours.


Prepare your chayote, wash, peel and cube into pieces.


Once the soup has been simmering for 2hrs, add the cubed chayote and simmer for another 40mins.

Rinse the watercress in cold water until clean.


The last 10mins, add the watercress to pot.  You can turn the heat up slightly to cook the leaves quicker if you wish but only for a few mins :)

Once watercress is cooked, your soup is ready!! Add salt to taste :)

The water chestnut is not at all overwhelming, in fact, its more like a melody, surfacing smoothly, and just so.  Slightly sweet, flavourful and refreshing.  This has definately become one of my favorite soups. :)

Enjoy!


Sunday 17 November 2013

Korean Braised Spicy Pork Belly

One pot wonders are truly a wonder.  A party of flavours cooked in a single pot over a slow period of time.  The aroma coming from this pot travels and lingers longingly.  Patience is tested.  A taste is not an option for another few hours.  Patience rewards.

This particular pot was quite a torture.  Every time I lifted the lid, to sir, the spicy scent from the sauce escaped and teased my scent sensory.  Braised pork belly, you will soon be eaten, fat and all. :D 

What makes this stew different than others is the sauce used.  Korean sauces has an array of flavours in their dishes and its hard to extract each individual ingredient as they then to blend so seamlessly together.  

So to begin, let's start by making the sauce!

Spicy Sauce Ingredients:
5-6 cloves of garlic 
1/2 of onion 
1 asian pear or alternately I used 2 gala apples (I had a fridge drawer full of it :D) 
3 tbsp of gochujang - korean chili paste
2 tbsp of soy sauce
1 tbsp of sesame oil
salt and white pepper

Directions:
Over medium high heat, pan fry the cloves of garlic until light golden brown with olive oil.  This will enhance the sweet flavour of the garlic and cook out the bitter kick.  Once golden, turn off heat and set aside.


Next, peel off the skin of asian pear or apple, whichever you decide to use and slice onions.  Asian pear will provide a sweet savory liquid component to the sauce without the need to dilute with water.


You will need a food processor to pulse all the ingredients together.  In the process bowl equipped with the blade, throw in the sliced onions, cubed apple (since that's what I used instead of pear) and all other ingredients found above list.  EXCEPT for the sesame oil.


Pulse until it comes together looking like below picture. 


Now add in your sesame oil and mix.  Tada! Your sauce is completed. :) Set aside.

Next, lets prepare the vegetables. You'll need one whole turnip root, carrot stalk, 2 - 3 sticks of sweet long pepper & green onion stalks.


Peel off skin of turnip and carrot.  Cut in 3/4" slices. 
Slice peppers in 1/2" pieces.  Optional to keep or remove the seeds.
Only use 3-4 bottom part of the green onion stalks.


Set vegetables aside.  Let's prepare the pork belly now!

Pork belly are sold in different ways, as a huge slab, thinly sliced or pre-cut into huge chunks.  For this particular dish, you'll want the big chunks, approximately a pound of it.  Most of the pork belly come with the skin on.  If you are a skilled butcher, feel free to slice off the skin, otherwise, just leave it on.  You don't need to eat it. :) 


Tip: slice the meat using a knife but since the skin is real tough, I recommend using a kitchen scissor to cut the skin part.  

We are almost done prepping! 

Let's start putting the pot together.

Line the bottom of the ceramic pot with the radish. This will act as a barrier for the pork from touching direct heat, allowing the meat to slowly heat up and soften during cooking time.


Add some of the other vegetables too. 


Layer the pork belly on top like so. 


Next, spread all the sauce overtop. 


Add the rest of the vegetables overtop.  Add a little bit of water (approx. 1/4 cup) into the bowl that use to hold the sauce, scrap down and mix any leftover sauce and pour overtop of vegetables.


Turn on heat to medium low and cover.  Allow the contents in the pot to slowly heat up without forcing the heat.  This will take approximately 30-40 mins before bubbles is visible on top.  Avoid taking off the lid at this time.  

Once you see bubbles on top, turn down the heat to low and allow to simmer for another 2 - 3 hours. 


That's how it looks after simmering for 1.5hrs.  You can see the sauce has somewhat reduced.


After another 1hr on the stove.  I added fried tofu balls to the pot just because.  This is optional.  Simmer for another hour.  The fat from the pork belly will melt, adding flavour to the sauce. ;) 


This is how it looks after another hour. :) 


Finally!! Ready to be eaten!!.  Be warn, this is spicy, so to control the spice level, add less Gochujang.


The meat of the pork belly should be soft and flavourful, sweet and spicy.  Enjoy with a bowl of rice!